DAY ONE
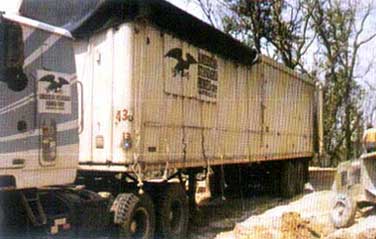
1. Truck arrives first day at 6:00 am, construction starts 7:00 am,
this view at 9:00 am.
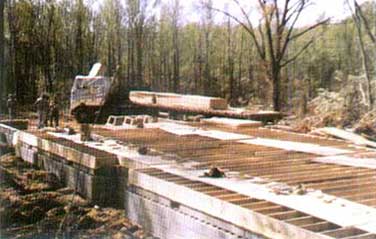
2. Deck system being put in place, starting plywood layout, using 3/4"
T&G plywood, glued and nailed in place.
3. Proceeding with first floor deck.
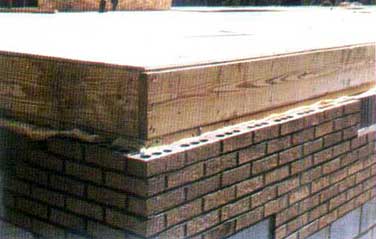
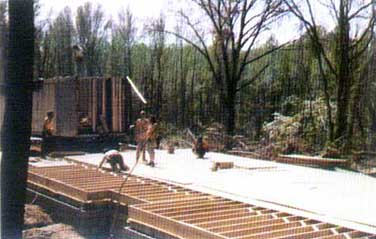
4. Side view showing box sill and floor deck.
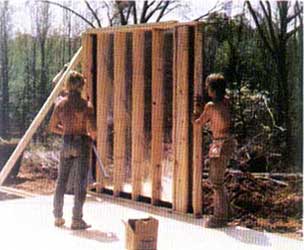
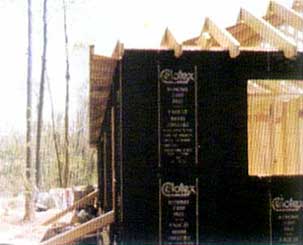
5. First outside wall panel, using 1 14/4 " insul-sheathing, ready to
put in place.
6. Outside walls 65% in place.
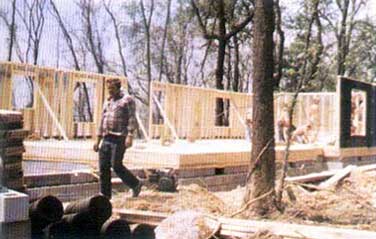
7. Outside walls complete.
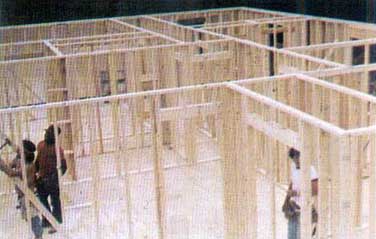
8. Interior walls and plumbing walls in place ready for trusses, end of
first day.
Top of Page
SECOND DAY
9. Trusses being put in place
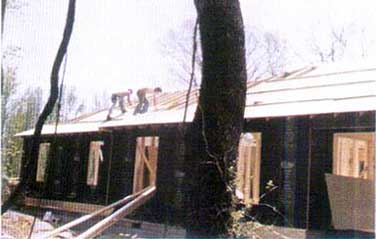
10. Roof plywood sheathing being installed.
11. Roof completed and shingled, brick started, end of 2nd day.
Top of Page
THIRD DAY
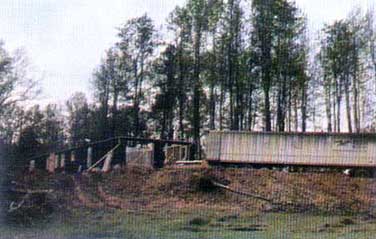
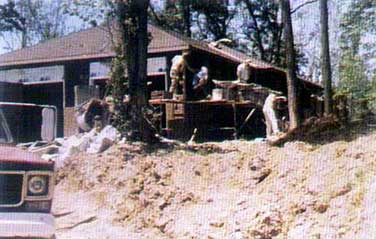
12. Brick being completed, rear view.
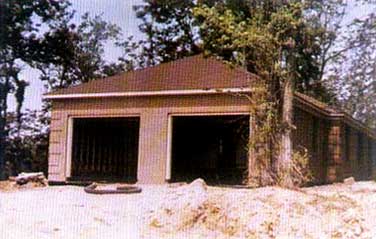
13. Garage view, complete with plumbing, electrical and mechanical
being installed.
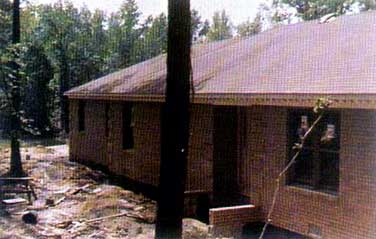
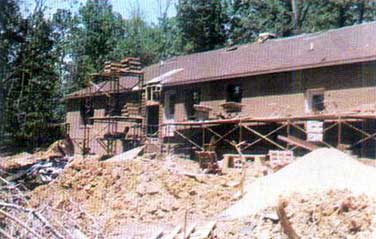
14. At end of 5th day, exterior completed with all mechanicals
installed ready for drywall.
You and Your Home
Mortgage Company
are in complete control over
your project with project support from HBN!
After completing the
outside structure and mechanicals, you can always go to your local
materials supplier if you prefer for your drywall, appliances,
carpet, light, plumbing and hardware fixtures and $ave all you possibly
can or we can assist you towards those professionals ready to help you.